
How to Measure Your Kitchen for New Cabinets (a 30-Minute, Step-by-Step Guide)
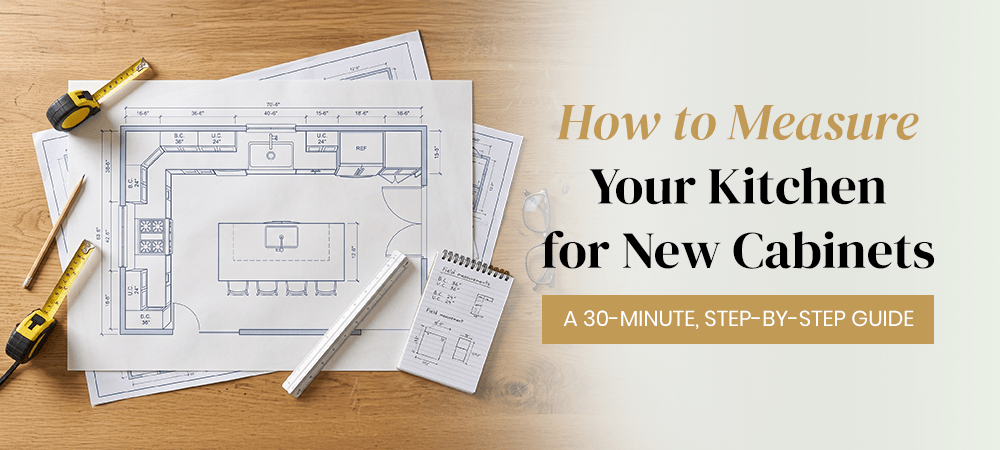
Every great kitchen begins with a tape measure. Accurate measurements are the difference between a remodel that clicks together like a puzzle and one plagued by awkward gaps, blocked drawers, and expensive reorders. The good news: measuring a kitchen properly takes about 30 minutes, requires no special skill, and this guide walks you through every step — including the clearances and quirks that trip up first-timers. Do it once, do it right, and a free design service can turn your numbers into a complete 3D kitchen plan.
What You Need
A 25-foot tape measure, a pencil, graph paper (or any paper), a level if you have one, and a phone camera. That is the whole toolkit. Measure in inches, to the nearest one-eighth inch, and write every number down immediately — the measurement you were sure you would remember is always the one you forget.
Step 1: Sketch the Room First
Before measuring anything, draw a rough bird's-eye outline of your kitchen: walls, and the position of every door, window, and opening. Mark where the range, sink, and refrigerator currently sit. This sketch does not need to be to scale — it is the map you will hang numbers on. Label the walls A, B, C, D clockwise so nothing gets confused later.
Step 2: Measure Wall to Wall
Measure each wall corner to corner at counter height (about 36 inches off the floor), because walls are rarely straight and counter height is where cabinets actually live. Then measure each wall a second time near the ceiling. If the two numbers differ, record both — designers plan fillers to absorb exactly this kind of variance. Write each total on its wall on your sketch.
Step 3: Locate Doors, Windows, and Openings
For every door and window, measure from the nearest wall corner to the edge of the trim, then the width including trim, then from trim to the next corner. Record the height of windowsills from the floor and the height of the window top — wall cabinets and range hoods have to negotiate with windows, and sill height decides whether a sink run works. Include doorways, pass-throughs, and anything that interrupts a wall.
Step 4: Measure Ceiling Height
Measure floor to ceiling in at least three places around the room. Older homes routinely vary an inch or more, and ceiling height determines whether you choose 30-, 36-, or 42-inch wall cabinets, and whether crown molding or a to-ceiling stacked look is possible. Note any soffits: their depth and drop from the ceiling.
Step 5: Record the Utilities
Mark on your sketch the centerline of the sink plumbing, the range's gas line or 220-volt outlet, the refrigerator water line if present, and every electrical outlet and switch on the backsplash. These positions are movable — but moving them costs money, so your designer needs to know where they are today.
Step 6: Measure Your Appliances
Width, depth, and height of the refrigerator, range, dishwasher, and microwave — or the spec-sheet dimensions of the new ones you plan to buy. Standard planning widths are 30 inches for a range, 24 for a dishwasher, and 36 for a refrigerator, but "standard" varies enough that assuming has ruined many layouts. A 35-and-seven-eighths-inch fridge opening for a 36-inch fridge is a very bad day.
Step 7: Photograph Everything
Take wide photos of each wall, plus close-ups of anything unusual: radiators, vents, sloped ceilings, columns, odd corners. Photos catch the details measurements miss and let a remote design team sanity-check your numbers.
The Clearances That Make Kitchens Work
As you dream about the new layout, keep the industry's proven minimums in mind: 36 inches of clear aisle for a one-cook kitchen and 42 to 48 inches between facing cabinet runs or islands; 15 to 18 inches between countertop and wall cabinet bottoms; 30 to 36 inches of clearance above a range for a hood; at least 24 inches of counter landing space beside the sink and 15 inches beside the refrigerator handle side. A layout that violates these feels cramped every single day; a designer will protect them for you.
The Five Most Common Measuring Mistakes
- Measuring only once per wall. Walls bow; measure low and high.
- Ignoring trim. Cabinet runs end at trim, not at the door framing.
- Forgetting the ceiling. Wall cabinet height and crown decisions depend on it.
- Assuming appliance sizes. Always measure or pull the spec sheet.
- Rounding up or down. Record the awkward eighth-inch truth; fillers exist to handle it.
What Happens to Your Numbers Next
Here is the payoff, and the reason this half hour is so valuable: send your sketch, measurements, and photos to the free kitchen design service at RTA Cabinets Express, and a professional designer turns them into a complete 3D rendering of your new kitchen with an itemized quote — every cabinet, filler, panel, and piece of molding specified, at RTA prices that run 40 to 60 percent below showroom quotes. You review the design, tweak it as many times as you like, and only order when the plan is exactly right. Designers catch the code clearances, plan around your utilities, and translate your odd 97-and-three-eighths-inch wall into standard cabinets plus a filler that looks intentional.
Measure Twice, Order Once
Thirty minutes with a tape measure unlocks everything: accurate quotes, a professional layout, and a remodel with no mid-project surprises. Sketch, measure, photograph, send. Your free design and quote from RTA Cabinets Express comes back with the hard thinking already done — and with code KITCHEN25 currently taking 25 percent off, the number at the bottom of that quote is likely to be the best surprise of your remodel. Questions while measuring? Call 866-595-4727 and a real person (English or Español) will walk you through it.
Frequently Asked Questions
Do I need to measure before getting a cabinet quote?
For an accurate itemized quote, yes — but a rough sketch with wall lengths is enough to start a free design conversation and get a ballpark. Final measurements are confirmed before anything is ordered.
Should I measure before or after demolition?
Measure now with cabinets in place to start your design, and re-verify wall-to-wall numbers after demo if walls were furred or tiled. Designers expect small revisions; surprises only hurt after ordering.
What if my walls are not square or my floor is not level?
Almost no walls are. Fillers, scribe molding, and adjustable cabinet legs exist precisely for this — note the variance in your measurements and the design will absorb it invisibly.